Ceiling Leak Water Damage in Clayton
A wet ceiling needs attention above and below the stain. Keep people away from sagging material while the source, insulation and supporting layers are checked before any cosmetic patch is considered.
(888) 578-4720Discuss the changing ceiling surface- Overhead access safety
- Source above the stain
- Wet insulation assessment
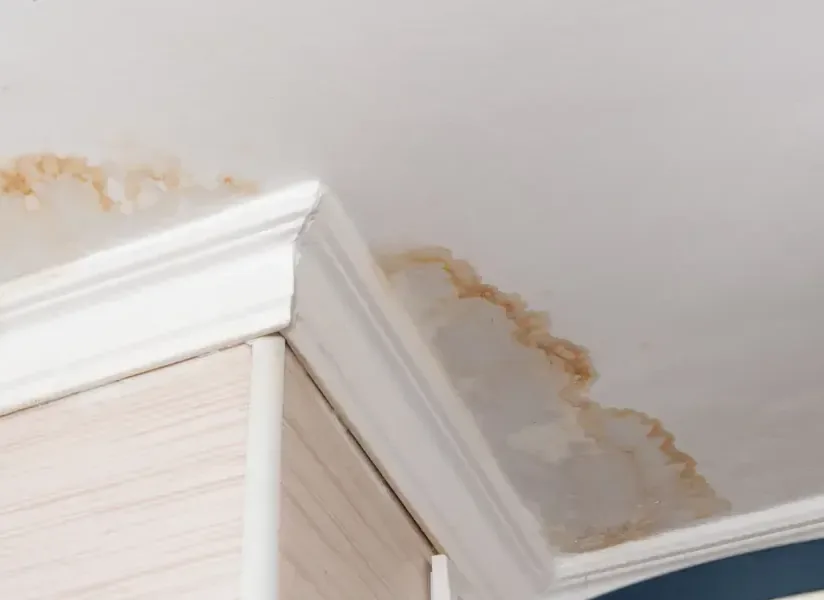
First steps for ceiling leak water damage
- Mark an exclusion area below
Keep occupants and movable belongings away from sagging or loose overhead finishes. Do not stand beneath a bulge to photograph it or try to release trapped water.
- Record the pattern from safety
Note whether the stain grows during rain, after bathing or while another fixture operates. Describe those observations to the assessor without attempting to identify the hidden source.
- Report nearby electrical fittings
Mention lights, fans or wiring near the wet area. Avoid operating affected switches and leave isolation of uncertain electrical equipment to the appropriate qualified professional before cleanup.
- Explain access above the room
Identify an attic hatch, upper floor room or other safe access point. This helps connect the visible damage with a source inspection and necessary overhead material assessment.
How the team handles ceiling leak water damage
Rapid local response
The response team prioritizes source control, safe entry and the full path of wet materials. A visible puddle is only the starting point for the assessment.
IICRC S500 drying standard
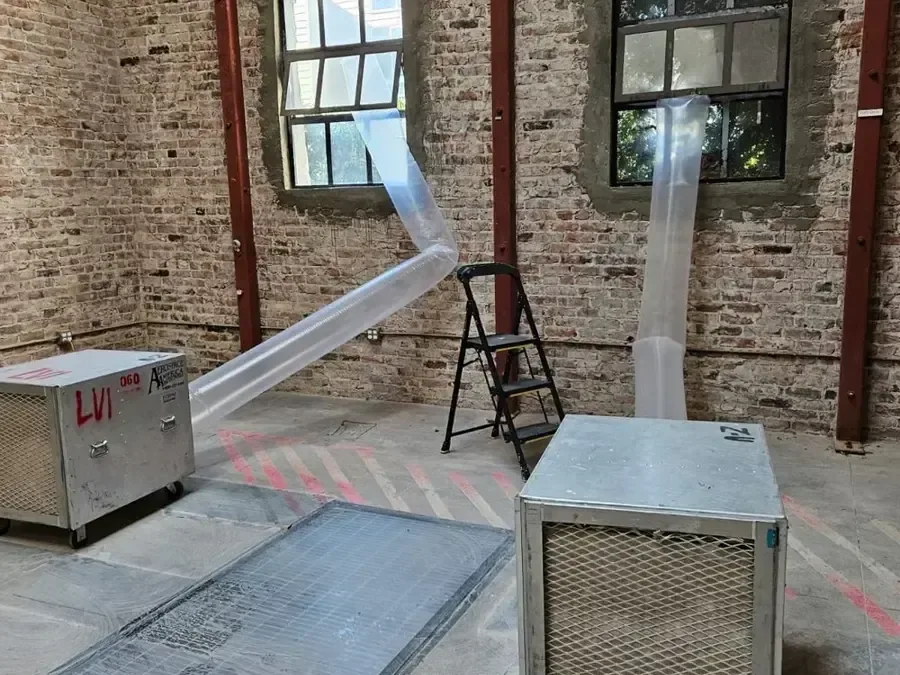
The drying technician measures affected assemblies, sets a dry reference and adjusts air movement and dehumidification to the materials that remain.
Claim-ready documentation
The mitigation file records photographs, moisture readings, removal decisions and equipment use. The property owner checks policy questions with the insurer.
Local water experts
The restoration assessment separates the water source from the damage it leaves behind. Plumbing repairs, safe electrical access and material drying each receive attention.
What does ceiling leak water damage cost in Clayton, NC?
Ceiling leak restoration in Clayton depends on overhead access, the layers holding water and damage in adjoining surfaces. A small visible mark can hide a larger wet area. Source repair and decorative finish replacement should be separated from cleanup costs.
Limited ceiling area
$800 to $1,800
- Accessible section with confined damage
- Targeted material inspection and handling
- Drying around a defined opening
Ceiling and partition spread
$1,800 to $3,000
- Water entering adjacent wall surfaces
- Additional cavity and insulation assessment
- More connected materials requiring drying
Multiple overhead assemblies
$3,000 to $6,500+
- Several ceiling areas needing access
- Broader removal and room protection
- Expanded monitoring before finish replacement
Compare the materials, water category and wet area with the cost planning calculator. An on-site assessment defines the work and any separate repairs.
The ceiling leak water damage process
- 1
Assess overhead stability
Examine the visible ceiling condition from a safe position and establish the working boundary. Decide how access can be created without exposing occupants to falling material.
- 2
Find the water route
Inspect the space above and check adjoining surfaces. Coordinate source repair while recording the wet ceiling layers and any insulation requiring separate handling.
- 3
Remove unstable affected sections
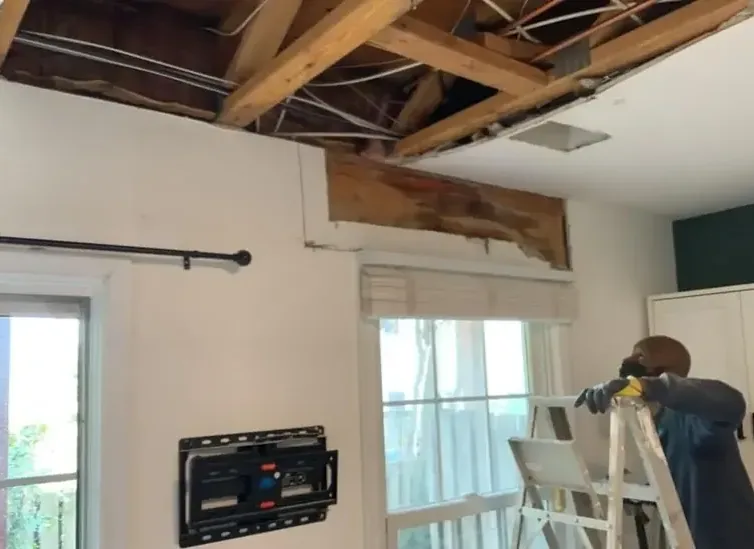
Take out material that cannot remain safely or dry appropriately. Protect the room below and document the extent of the opening for the later repair work.
- 4
Verify before closing overhead
Measure retained framing and connected surfaces during drying. Explain the remaining finish scope once the source is controlled and the moisture condition supports reconstruction.
A ring on the ceiling is the end of a water path, not necessarily its beginning. A pipe, fixture or roof opening may release water elsewhere above the room. Before stain blocking or replacement panels are discussed, the assessment needs to locate that path and determine whether the overhead material is stable.
Keep weight and electrical exposure in view
Wet ceiling material can become heavy, and a bulge may hold water above a thin finished surface. Occupants should avoid standing beneath it or attempting to puncture it. Water around a light fitting also requires a safe electrical assessment before the area is used or powered equipment is introduced.
- Record whether dripping changes with rainfall or use of an upstairs fixture, without entering unsafe spaces.
- Look from a safe position for widening marks, loose joints and separation around decorative ceiling trim.
- Include the top of adjoining walls where moisture can descend behind finishes after the ceiling becomes wet.
- Explain whether an attic hatch or upper room provides practical access to the suspected source area.
Respect the layers above older finishes
The Clayton Historic District contains almost 300 historic homes and buildings. Where older ceiling finishes remain, document their construction and condition before selective removal. The method should reflect the actual assembly, including insulation or added coverings discovered above it, rather than treating every ceiling as a single modern panel.
Material readings help determine when the assembly is ready for repair. A persistent mark may outlast the water, while a pale adjoining surface may still hold moisture. Measurements and accessible cavity inspection provide a more useful basis for the decision to retain or replace materials.
Carry the assessment into neighboring surfaces
Mulberry Street is among the historic district boundaries. In a property there or elsewhere in town, a ceiling leak can affect crown trim, upper wall cavities and the floor below. Document those connected surfaces before limiting the job to the overhead patch that is easiest to see.
Close the ceiling after the source stays controlled
The final sequence is source correction, safe material handling, drying verification and finish repair. Any renewed dripping or rising moisture reading calls for another look above the room. The repair handoff should identify removed layers, retained framing and any electrical or plumbing work still required.
Review flood safety precautions before entering a wet building and EPA indoor air quality information when planning cleanup.
Ceiling leak water damage in Clayton
Describe the room beneath the stain and the space directly above it. For a property near Main Street or Mill Street, include safe entry details and whether furniture or occupants must be moved away from the ceiling.
The same service nearby: ceiling leak water damage in Smithfield, Wendell, Selma.
Related water damage services in Clayton
Ceiling Leak Water Damage questions in Clayton
Should a ceiling bulge be punctured to drain it?
Occupants should keep away from unstable overhead material. Puncturing can release water and loosen finishes suddenly. The assessment should establish safe access and a controlled method for handling the affected section.
Can the ceiling be painted once dripping stops?
Insulation and framing need moisture checks after dripping stops. Source correction and moisture checks should precede painting so a cosmetic repair does not conceal wet layers that still require attention.
Could the source be away from the visible mark?
Water can travel along framing or other surfaces before reaching a joint. The inspection should follow that route above the room rather than assuming the stain lies directly beneath the leak.
Does wet insulation always stay in place?
Its condition, contamination and ability to dry determine handling. Saturated insulation can hold water against adjacent materials. The scope should explain whether it remains, needs access or must be removed before drying.
Why inspect the wall below a ceiling leak?
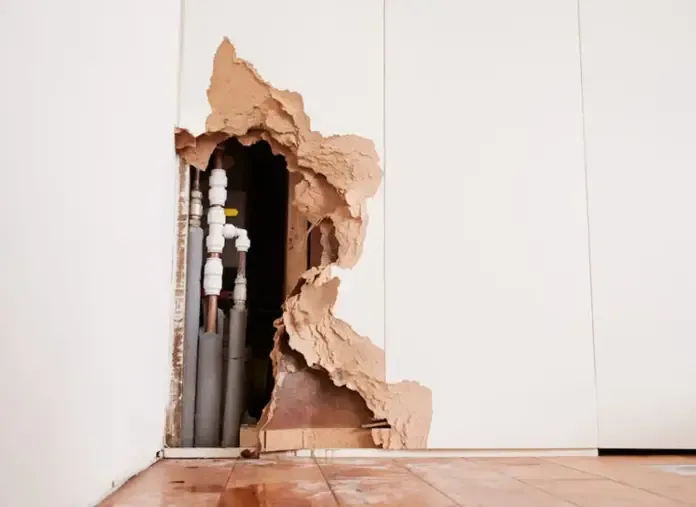
Water can descend behind trim and wall finishes after crossing the ceiling. Checking those surfaces helps establish the true boundary and prevents the repair from ending at the visible overhead stain.
What is needed before new ceiling panels are installed?
The source must be corrected and retained materials checked against drying objectives. The repair contractor also needs the opening dimensions, removed layer information and any outstanding electrical or plumbing requirements.
Start above the stain before patching
A useful ceiling assessment connects the visible mark with the wet layers behind it. Arrange source investigation and material checks before discussing the new finish.